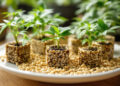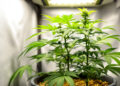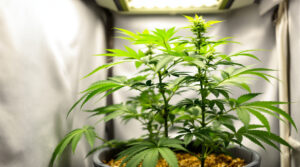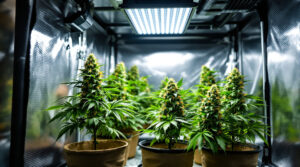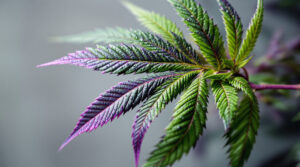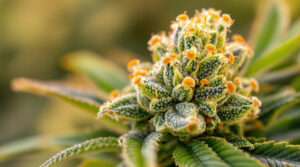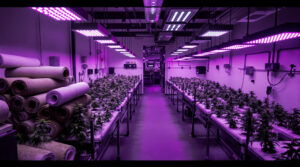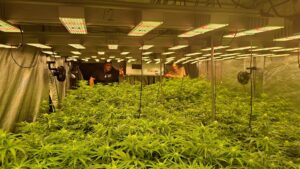
Since the legalization of cannabis for personal consumption in April 2024, adults in Germany are allowed to grow up to three cannabis plants at home. What was a dream for many for a long time is now everyday reality in thousands of German households. Indoor growing in a grow box has a decisive advantage over balcony cultivation: weather, season, and curious neighbors no longer play a role.
📑 Inhaltsverzeichnis
- Choosing the right grow box for your indoor grow
- Lighting in the grow box: LED has long since replaced HPS
- Ventilation and odor control: The key to discreet growing
- Substrate, pots, and watering: The foundation for healthy plants
- Fertilizing in the grow box: What your plants really need
- Cost overview: What you should budget for your grow box setup
- Frequently asked questions
- 💬 Fragen? Frag den Hanf-Buddy!
Anyone who understands how light, air, and substrate work together can harvest year-round. This guide explains step by step how to set up a grow box, from the first tent to a fully configured indoor setup. Which lamp fits your box size? How do you dimension ventilation correctly? And what does it all really cost? You’ll find the answers here. For a detailed cost comparison between all growing methods, check out our article on homegrow costs 2026.
Choosing the right grow box for your indoor grow
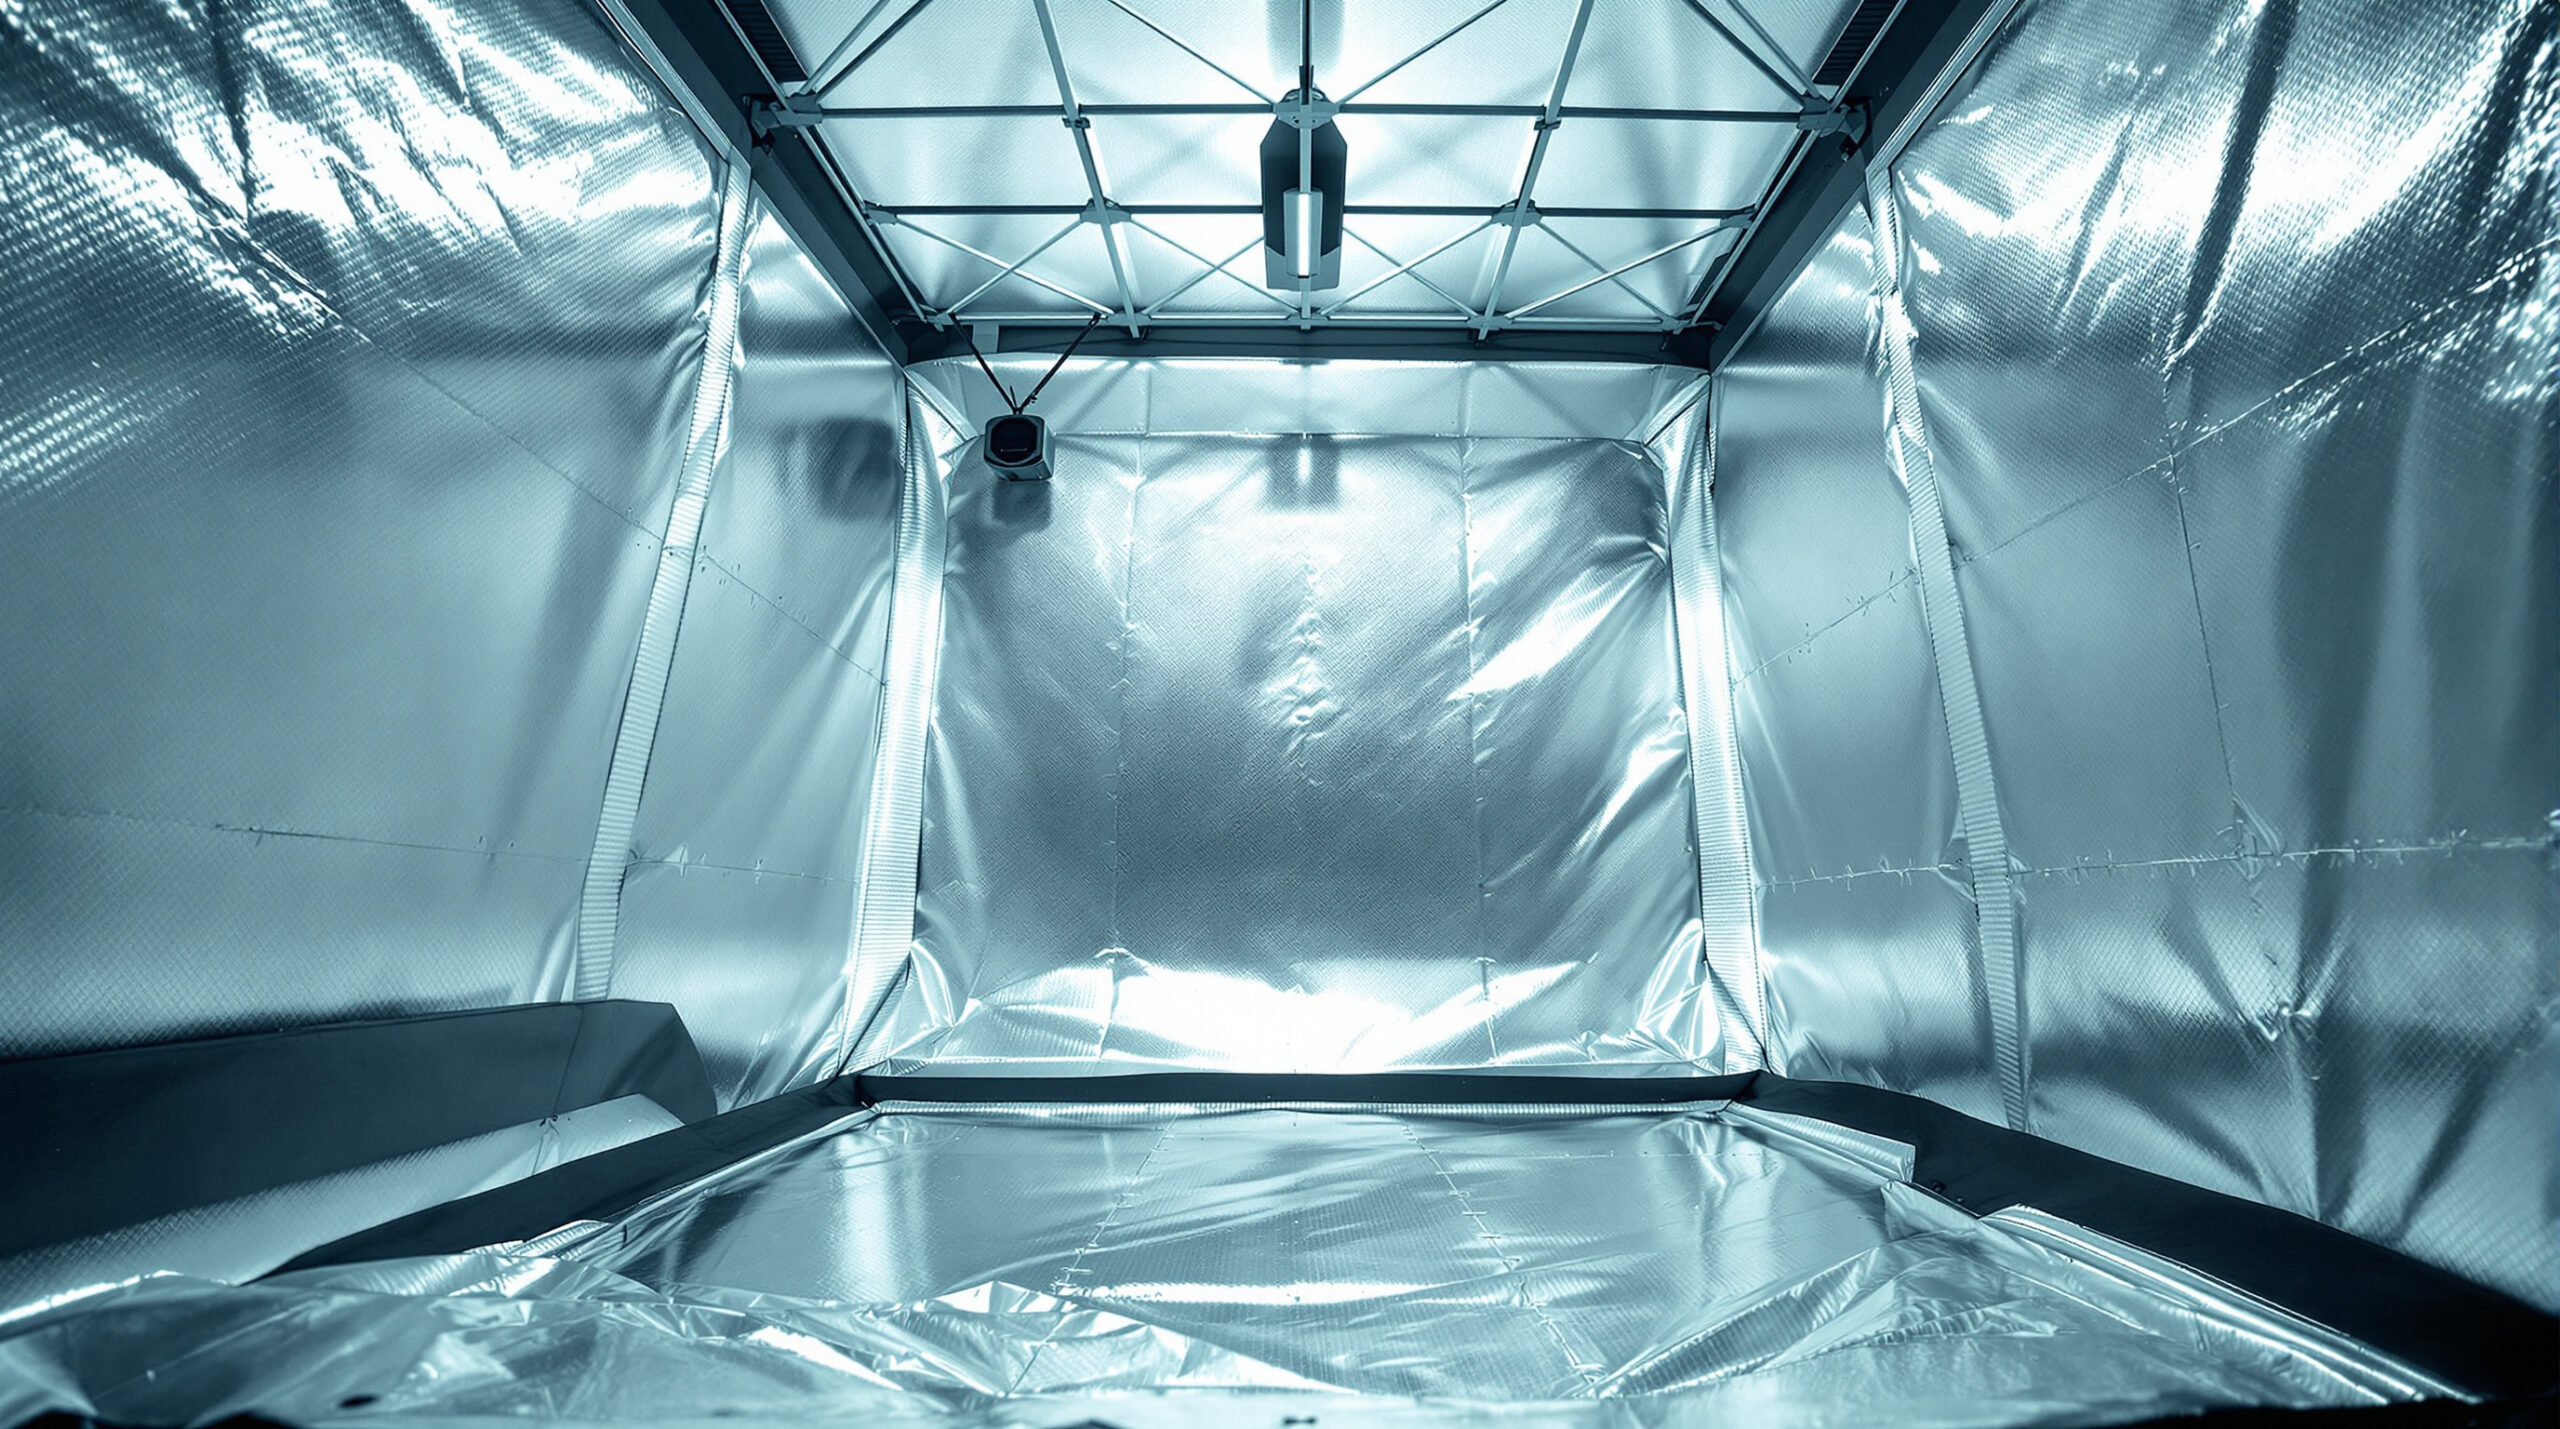
A grow box is typically a collapsible grow tent made of light-proof, reflective fabric, silver-coated on the inside (so-called Mylar), dark on the outside. This reflective interior is not merely decorative—it works actively: it reflects lamp light back onto the plant canopy, significantly increasing lighting efficiency. Quality tents are made from tear-resistant Oxford fabric, have reinforced corners, and feature sturdy suspension systems for heavy LED lights and ventilation equipment. Budget products rarely withstand the mechanical stress from fans, cables, and filter weight beyond the first cycle. Here, the difference between investment and waste becomes apparent after just one growing season.


The size of the tent determines everything that follows: lamp wattage, fan dimensioning, and pot count. For two to three plants and the classic entry point, the 80 × 80 tent has proven practical. It offers enough space for growth and training methods like SCROG or Low Stress Training without dominating the room. Smaller 60 × 60 tents work for a single plant but demand more discipline in canopy management to ensure light is captured evenly. Those wanting more than three plants per cycle or targeting higher yields go for the 100 × 100 or 120 × 120 format. The 120-size can easily accommodate four to six plants but requires correspondingly more light output and stronger ventilation equipment.
Price-wise, the rule of thumb is: a quality tent costs between 60 and 150 euros, depending on size and build quality. Established brands like Secret Jardin, Gorilla Grow, or Homebox justify the premium with better stability, tighter zippers, and more robust frame bars. Budget-conscious growers can find usable entry-level tents from cheaper manufacturers for as little as 40 euros, but should pay special attention to customer reviews regarding light-tightness on the first purchase. Light leaks severely disrupt the flowering cycle: any unintended light exposure during the 12/12 phase stresses the plant and can in worst cases lead to hermaphroditism, where female plants produce pollen and contaminate your own harvest.
Lighting in the grow box: LED has long since replaced HPS
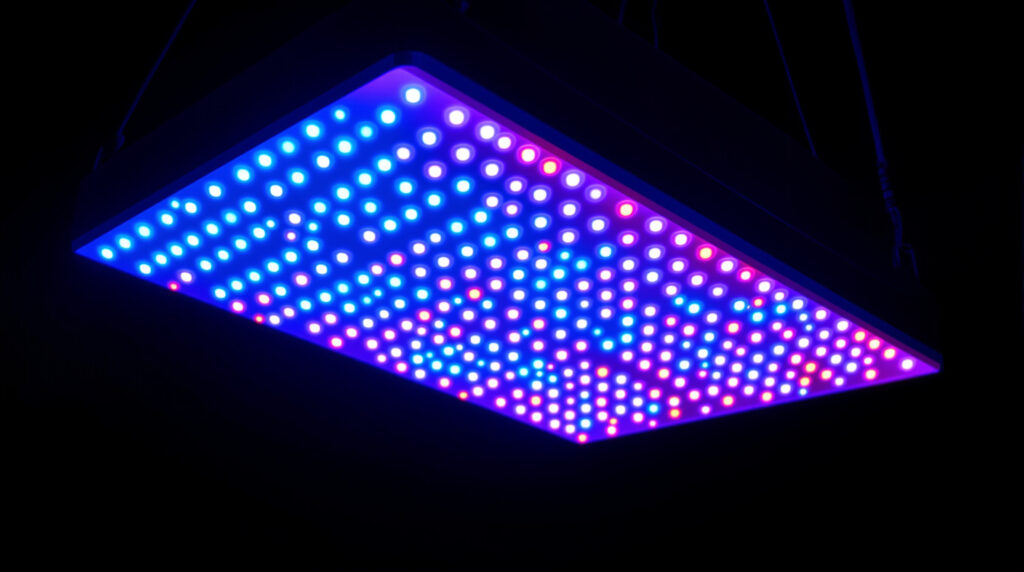
Light is the primary energy source for the cannabis plant, and in the grow box, you’re the sun substitute. The most important purchasing decision when setting up a grow box is choosing the lamp technology. While high-pressure sodium lamps (HPS) were the standard for decades, LED technology has undergone such massive quality improvements in recent years that sodium vapor lamps hardly make sense anymore for private homegrows. LEDs produce significantly less waste heat, consume less electricity for equal or better light output, and modern full-spectrum LEDs cover all plant-relevant wavelengths from 380 to 780 nanometers, including the blue-heavy spectrum for the vegetative phase and the red-heavy component for flower development.
The crucial specification for LEDs is not the advertised wattage but the PPFD value—photosynthetic photon flux density in the photosynthetically active range, measured in µmol/m²/s. During the growth phase, cannabis needs a PPFD of roughly 400 to 600 µmol/m²/s; during flowering, ideally 600 to 900 µmol/m²/s. For an 80 × 80 tent in practice, this means: a good LED with 200 to 250 watts of actual power consumption is completely sufficient. The 60 × 60 format gets by with 100 to 150 watts; the 100 × 100 needs 300 to 350 watts. Manufacturers like Mars Hydro, Spider Farmer, or HLG (Horticulture Lighting Group) offer reliable products in these segments with good PPFD maps from independent tests.
The light schedule is the second crucial element in growth. During the vegetative phase, the lamp runs 18 hours on and 6 hours off—the 18/6 regime mimics summer’s long days. Once you’re ready for flowering, you switch to 12/12. Equal-length days and nights trigger flower development in photoperiodic varieties. Autoflowering strains, which are gaining popularity among homegrowers, flower regardless of light cycle—a major advantage for beginners. Learn more in our guide to growing autoflowers. A mechanical or digital timer for 10 to 20 euros handles precise timing and should always be part of your basic equipment.
An often-underestimated factor is light intensity depending on lamp distance. LEDs should typically hang 40 to 60 centimeters above the canopy, though high-intensity COB LEDs sometimes need more distance to avoid light burn on the tips. Dimmer functions, which many modern LEDs include, allow gradual intensity increases, particularly useful in the seedling phase when delicate young plants aren’t ready for full light intensity. As a rule of thumb: introduce new light gradually, observe plant response over 48 hours, then increase further only if necessary.
Ventilation and odor control: The key to discreet growing
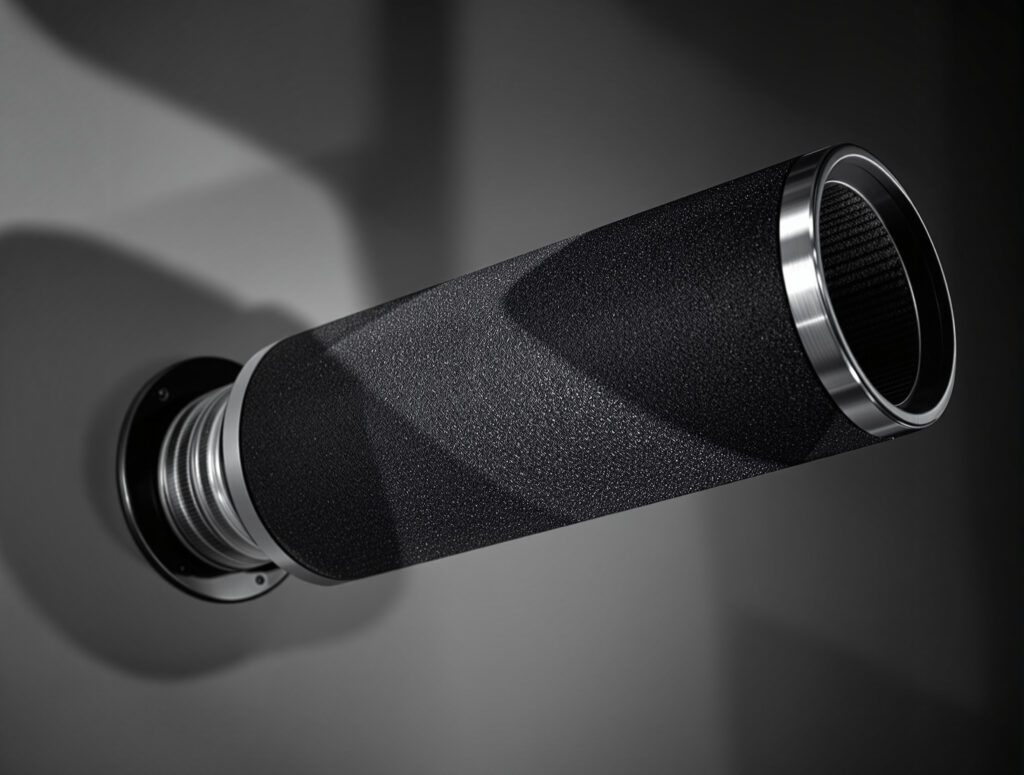
Without functioning ventilation, every indoor grow fails sooner or later. The plant needs CO₂ to build biomass, and depleted, CO₂-poor air must be continuously exchanged for fresh outside air. At the same time, steady air movement creates stronger stems because the plant responds to physical resistance with reinforced tissue growth—an effect that wind naturally provides in outdoor environments. Finally, odor control becomes a non-optional necessity rather than an optional add-on from week four of flowering onward, a social necessity in home environments. A complete ventilation system consists of three components: exhaust fan, activated carbon filter, and intake openings.
The exhaust fan pulls warm air from the top of the tent and pushes it through the activated carbon filter outside. The filter binds the terpene molecules responsible for cannabis’s characteristic odor through adsorption on the porous activated carbon surface. For dimensioning, use this rule of thumb: the entire air volume of the tent should be exchanged 60 to 100 times per hour. An 80 × 80 × 180 tent has a volume of roughly 115 cubic meters; a fan with 150 to 200 m³/h nominal capacity suffices. Activated carbon filters from Can-Filters, Phresh, or Prima Klima have proven reliable and last 12 to 24 months depending on ambient humidity. The flange diameter of filter and fan must match precisely. 100mm and 125mm are standard sizes for small setups.
Intake air is supplied passively or actively through the lower, closable tent openings. Passive air intake suffices for smaller setups if exhaust air keeps the tent slightly under pressure, noticeable by the tent walls slightly bowing inward when all openings close. Inside the tent, a small circulation fan ensures even air distribution and prevents stagnant air layers that encourage mold growth. A complete ventilation system’s energy consumption is 40 to 80 watts, quite modest. For those monitoring their grow’s carbon footprint, our analysis of energy consumption in indoor cultivation provides an honest assessment of environmental costs.
Substrate, pots, and watering: The foundation for healthy plants
Choosing the right substrate is one of the most fundamental decisions when setting up a grow box. For beginners, soil is the clear choice: it forgives watering mistakes, contains nutrients for the first weeks, and requires no intensive EC and pH monitoring minute-by-minute. Coco coir and hydroponics are capable alternatives for experienced growers but offer significantly less buffer against fertilizing errors and require more active, hands-on daily management. For a stress-free, educational first grow, quality organic soil works best.
Within the soil category, a proven two-stage strategy has become standard: seedlings and young plants start in a light mix—nutrient-poor soil with light structure and high drainage. It contains enough nutrients for the first two to three weeks without overwhelming sensitive young roots. Once the plant actively enters the growth phase, it’s transplanted into a larger pot with All Mix or Batmix, nutrient-richer substrates that last four to eight weeks without additional liquid fertilizer. The pH of watering water should be maintained between 6.2 and 7.0 for soil grows. Deviations block nutrient uptake even with full substrate and produce classic deficiency symptoms that beginners often mistakenly attribute to nutrient deficiency, when the actual cause is incorrect pH adjustment.
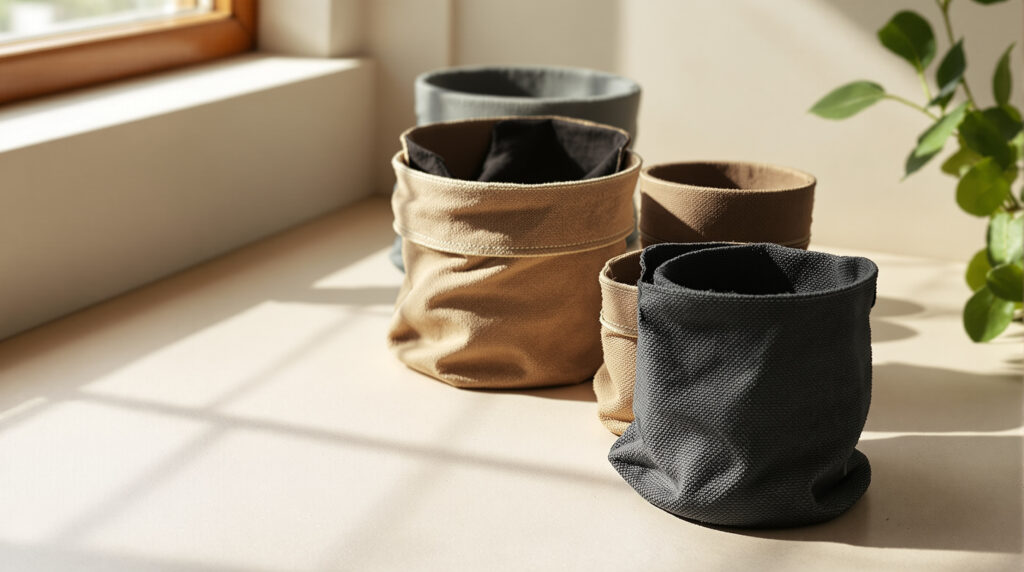
Pot size directly correlates with the plant’s growth potential. The rule of thumb: one liter of substrate per week of planned total growing duration. For four weeks of vegetative growth and eight weeks of flowering, pots of ten to twelve liters work well. Larger 15- to 20-liter pots enable stronger plants but require more substrate and longer drying times between waterings. Fabric pots made of breathable material have proven superior to classic plastic pots in practice: they prevent root circling through air pruning and provide better oxygen supply to the root zone, directly resulting in faster growth and healthier plants.
Fertilizing in the grow box: What your plants really need
Cannabis has phase-related nutritional requirements that divide into two main phases: growth and flowering. During the vegetative phase, nitrogen (N) dominates. It’s responsible for leaf and stem growth and is consumed in relatively large quantities. Phosphorus (P) and potassium (K) are dosed more moderately in this phase. During flowering, the relationship reverses: nitrogen needs drop significantly while phosphorus and potassium come to the fore. Phosphorus promotes flower development and resin production; potassium strengthens the plant’s immune system and transport processes within vascular tissue. Most commercial fertilizer systems reflect this phase shift with separate grow and bloom nutrients.
Organic fertilizers have experienced a remarkable renaissance in homegrows. Products based on worm humus, guano, algae extract, or mycorrhizal cultures are often more pH-stable than mineral fertilizers and promote microbial activity in the substrate, leading long-term to healthier, more resilient growth. For beginners, a complete organic nutrient system like those from Biobizz, Plagron, or Canna is recommended because it provides clear dosing instructions and leaves little room for serious mistakes. Mineral fertilizers enable more precise EC control and are cheaper per liter of concentrate but require more monitoring and understanding of interactions between individual nutrients.
The most common fertilizing mistake is over-fertilizing, not under-fertilizing. This can’t be emphasized enough. Always start with half the manufacturer’s recommended dose and observe the plant’s reaction over three to four days. Dark green, glossy leaves with downward-curved tips indicate nitrogen excess—a clear signal to reduce. Pale, yellowish new growth can indicate magnesium deficiency or incorrect pH. An inexpensive pH meter starting at 15 euros and an EC meter at 20 euros belong in every serious homegrower’s basic kit, saving many frustrating hours diagnosing sick plants.
Cost overview: What you should budget for your grow box setup
The initial investment for a complete beginner setup realistically ranges from 300 to 600 euros. An 80 × 80 grow tent costs 70 to 120 euros depending on the brand. An LED with 200 watts of actual power runs 100 to 200 euros. The ventilation set with activated carbon filter and fan is available from 60 euros but shouldn’t be underestimated—quality pays off especially in durability and noise levels. Timer, circulation fan, pH meter, and EC meter add another 50 to 80 euros. Substrate, pots, nutrient set, and seeds come to 80 to 120 euros for the first cycle. The total calculation yields a realistic initial investment of 360 to 620 euros for a solid, expandable setup. A complete comparison of all cost factors in cannabis homegrows is provided in our article on homegrow costs 2026.
Running costs per cycle consist of electricity, substrate, fertilizer, and seeds. With a 200-watt LED setup running 18 hours in the growth phase and 12 hours in flowering, plus ventilation equipment, power consumption over 16 weeks is about 100 to 130 kilowatt-hours. At 32 cents per kWh, that’s 32 to 42 euros per growing cycle. Substrate and fertilizer cost 20 to 40 euros per cycle if pots and basic equipment are reused. Actual yields with an experienced grower on an 80 × 80 setup range from 50 to 120 grams of dried flowers per cycle. Our guide to harvesting, drying, and curing cannabis details what happens after harvesting.
Frequently asked questions
Which grow box size is best for beginners?
For getting started with up to three plants, dimensions of 80×80×180 centimeters are recommended. This format is the most widespread among beginners for good reason: it offers enough space for proper canopy management, works with a single 200-watt LED, and fits nearly any basement, storage room, or walk-in closet. If space is absolutely limited, you can begin with a 60 × 60 tent but should then consistently work a single plant through Low Stress Training or SCROG so light is captured evenly and yields remain satisfactory despite the small footprint.
Do I need to buy an expensive brand tent or will a cheap one do for the beginning?
A budget entry-level tent works for the first one to two grows if you carefully check light-tightness. After assembly, fully open the tent, step inside, close all zippers, and wait ten minutes in darkness. If you see light spots, seal them with light-proof tape. For long-term investment, a quality tent with reinforced seams, sturdy suspension points, and solid metal frame is worth it—durability is significantly better, and after several years the price difference pays for itself.
How loud is a fully equipped grow box with ventilation?
This depends heavily on the fan used and speed control. A good inline fan on medium runs 35 to 45 decibels, comparable to a running refrigerator. Speed controllers let you throttle the fan on cool nights, reducing both noise and power consumption. Those setting up tents in bedrooms should additionally invest in vibration-damped suspensions for filter and fan: rubber isolators for just a few euros significantly reduce noise transmission to the tent frame and make operation much more pleasant.
How often do I need to water my plants in the grow box?
Watering frequency varies greatly depending on pot size, substrate, and growth phase. As basic guidance: water when the top centimeter of substrate feels dry and the pot feels noticeably lighter than immediately after watering—the so-called lift test. Seedlings in small pots may need water daily, larger plants in 12-liter pots often only every two to three days. Over- and under-watering produce surprisingly similar symptoms—drooping leaves, yellowing—which regularly confuses beginners. When in doubt, err on the dry side: cannabis recovers from slight drought faster than from persistent waterlogging.
Is indoor growing in a grow box actually legal after the CanG?
Hast du schon einmal eine Growbox für den Anbau genutzt?
Yes, within the defined limits of the Cannabis Consumption Act, private cultivation has been legal in Germany since April 2024. Adults aged 18 and over may possess and grow up to three female plants simultaneously, exclusively for personal consumption. Plants must be stored inaccessibly to minors, easily satisfied through a locked grow box in a locked room. There are no legal restrictions on growing methods, so indoor cultivation in a grow box is entirely legal. What remains prohibited is sharing fresh or dried flowers and any form of sale. How legalization has actually changed the German market so far is discussed in detail in our CanG interim report April 2026.




Branchen-Update
News, Analysen und Reportagen — mehrmals im Monat direkt in dein Postfach.
Folge uns