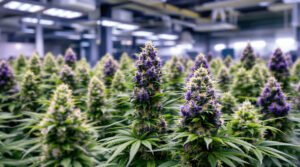
Since the Cannabis Control Act (CanG) in April 2024, indoor growing in Germany has been legal for adults – any adult can cultivate up to three female plants at home. What once remained in a gray zone is today a legal recreational activity that thousands of Germans use to produce their own cannabis with complete control over quality, genetics, and growing conditions. Once you understand how a well-equipped indoor grow works, you’ll quickly realize: homegrowing is not only cheaper than purchasing at a dispensary or club – it’s above all a deep engagement with a fascinating plant.
📑 Inhaltsverzeichnis
- The Basic Equipment for Your Indoor Grow: What You Really Need
- Lighting in Indoor Grow: LED, HPS, or CMH?
- Choosing Substrate: Soil, Coco, or Hydroponics Compared
- The Growth Stages of Your Cannabis Plant from Germination to Harvest
- Climate and Environment: Temperature, Humidity, and VPD in Indoor Grow
- The Most Common Indoor Growing Mistakes and How to Avoid Them From the Start
- 💬 Fragen? Frag den Hanf-Buddy!
This comprehensive guide takes you step by step through everything you need to know for a successful indoor grow: from the right equipment through substrate selection to harvest. Whether you’re growing for the first time or want to optimize your existing setup – you’ll find expert knowledge here without unnecessary fluff. Before you start, you should also get an overview of the actual costs of homegrowing so you can plan realistically from the beginning.
The Basic Equipment for Your Indoor Grow: What You Really Need
An indoor grow starts with the question of the right equipment. First-time growers often feel overwhelmed by the sheer selection of grow tents, lamps, fans, and nutrient solutions. However, the essentials can be reduced to a few core components that are indispensable for every successful indoor grow.


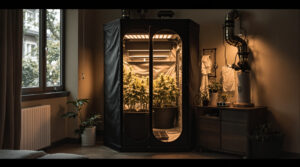
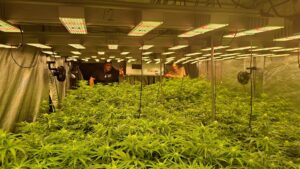
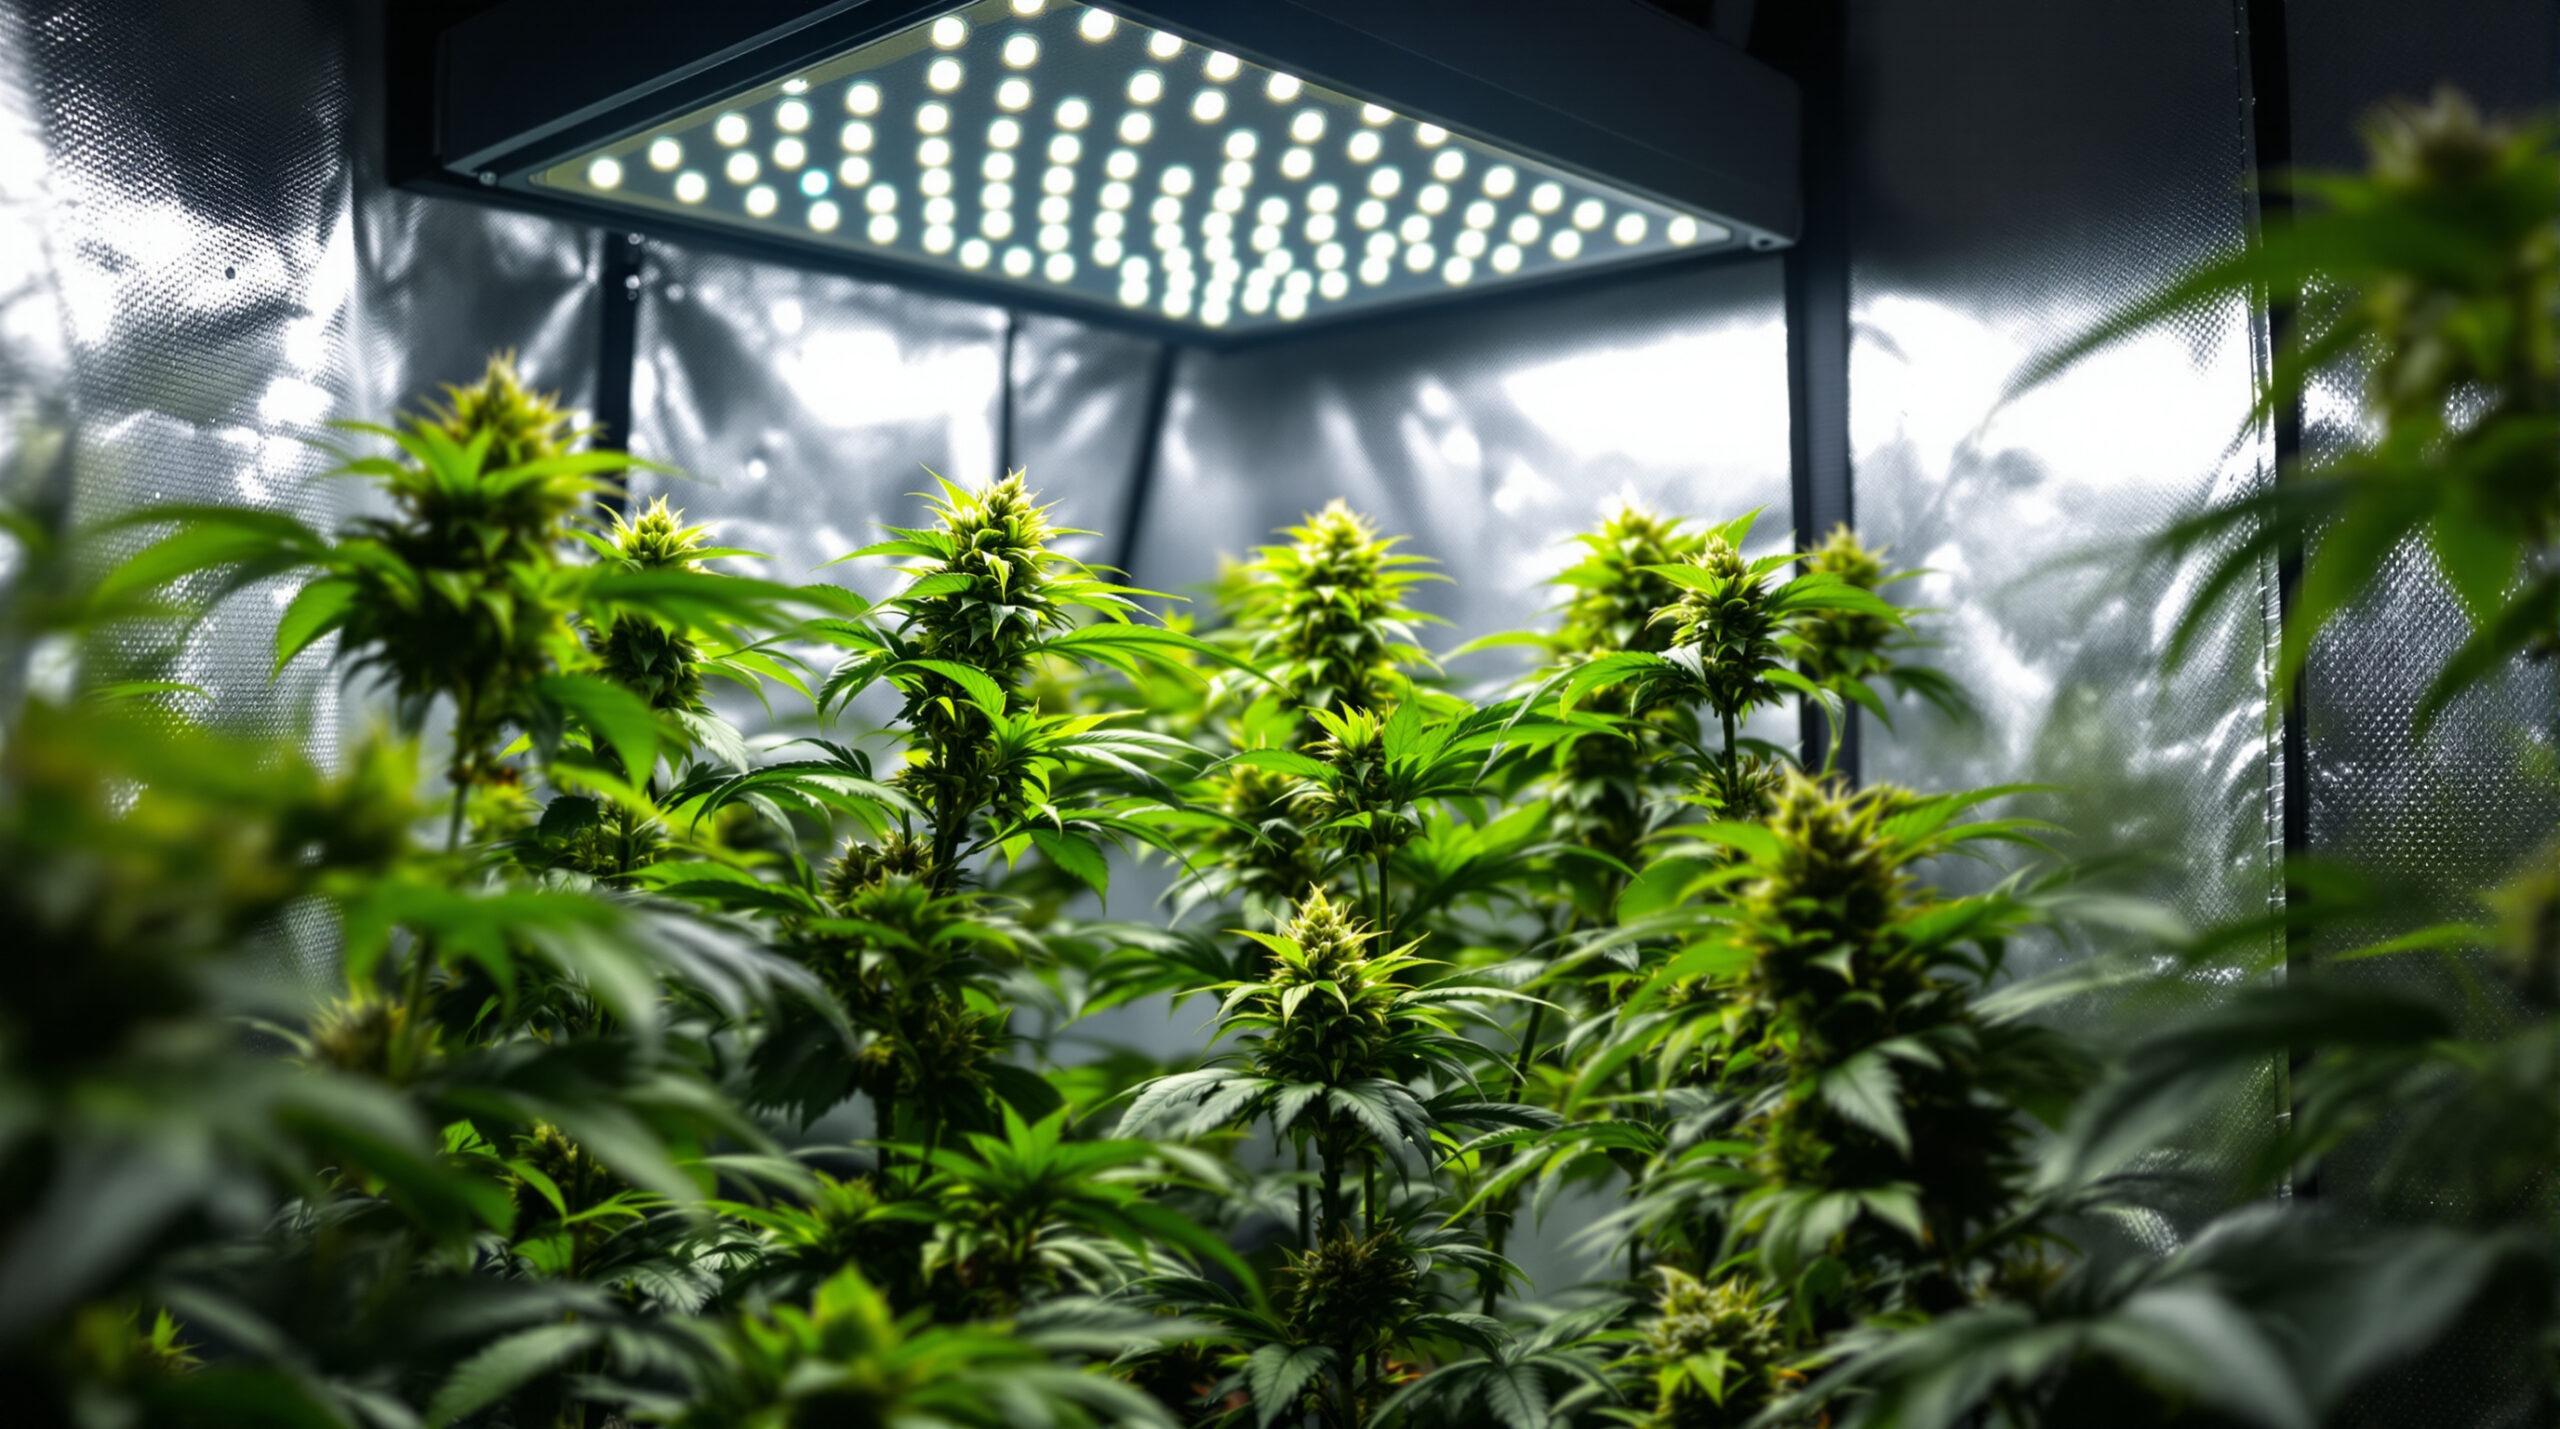
The grow tent is the heart of your setup. It ensures that light, temperature, and humidity remain in a controlled space and don’t interact with your room’s environment. Grow tents are lined on the inside with reflective Mylar that bounces back up to 95 percent of light, maximizing light efficiency. For a hobby grower with three plants, a tent sized 80 × 80 × 160 cm or 100 × 100 × 200 cm is completely sufficient. The tent must be absolutely light-tight, because any light leakage during the dark phase can interrupt flowering in photoperiodic strains or lead to hermaphrodite plants.
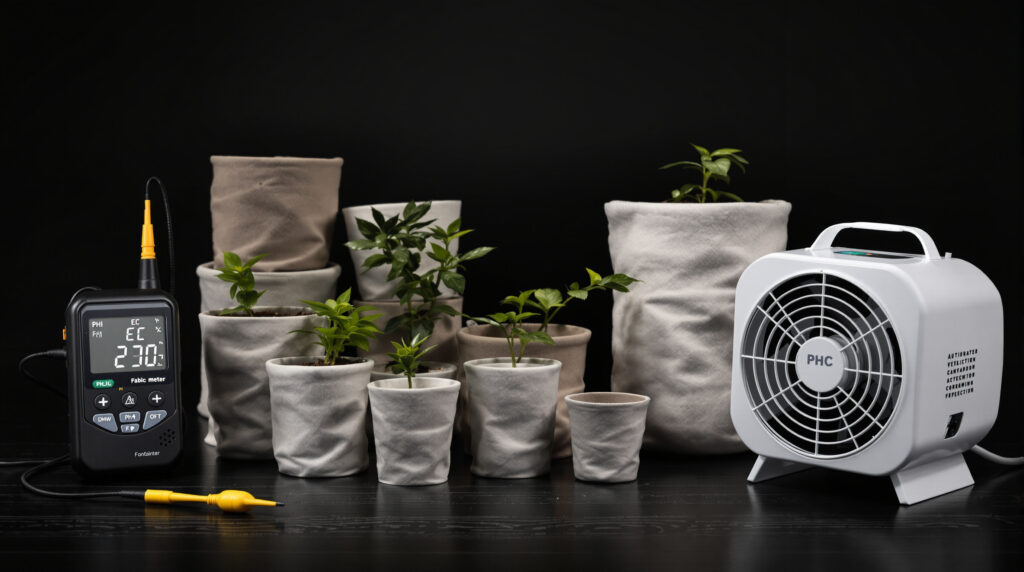
For ventilation, you need at least an exhaust fan with a matching activated carbon filter. This pulls the warm, humid, and odor-intensive air out of the tent, cleans it through the carbon filter, and vents it outside. The size of the fan depends on your tent’s volume: as a rule of thumb, the air in the tent should be completely exchanged at least once per minute. Additionally, the tent needs an oscillating fan that moves the air inside, prevents hot spots, and lets the plants sway slightly in the breeze – this strengthens stems and promotes growth.
Pots, soil or another substrate, a pH meter, and an EC meter for the nutrient solution round out the basic equipment. Especially for beginners, the pH meter is often an underestimated tool: the pH value of your watering water determines whether your plant can even absorb the nutrients offered. For soil, the optimal pH range is between 6.0 and 7.0; for coco and hydroponics, between 5.5 and 6.5.
Lighting in Indoor Grow: LED, HPS, or CMH?
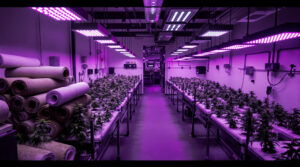
Lighting is the most important and simultaneously most expensive component of every indoor grow. It replaces the sun – and that’s an immense task. Cannabis plants are naturally optimized for intense sunlight, which easily reaches 80,000 lux on summer days in temperate climates. In indoor growing, the goal is to simulate this light supply as efficiently as possible.
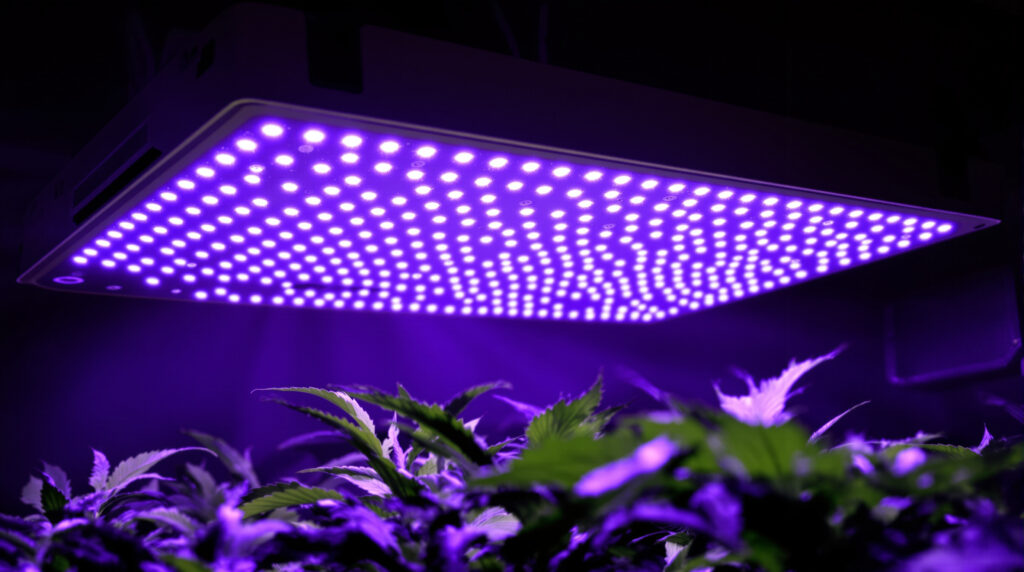
Modern full-spectrum LED has largely replaced HPS (High Pressure Sodium) as the gold standard in indoor growing over recent years. The reasons are compelling: LED panels produce significantly less waste heat, have a much longer lifespan of often over 50,000 operating hours, and modern quantum board designs achieve efficiencies of over 2.7 µmol/J – meaning a high-quality 250-watt LED panel produces comparable light output to a 400-watt HPS lamp but with significantly lower power consumption and without the associated heat generation.
For planning, a simple guideline applies: in the vegetative phase, you need about 100 to 150 watts of LED per square meter of growing area. In the flowering phase, 200 to 300 watts per square meter are recommended. More relevant than wattage, however, is light intensity in PPFD (Photosynthetic Photon Flux Density, measured in µmol/m²/s). In the growth phase, plants need 300 to 600 µmol/m²/s; in the flowering phase, you increase to 600 to 900 µmol/m²/s.
Light spectrum also plays a role: in the vegetative phase, plants benefit from a higher blue light component (450–500 nm), which promotes compact, bushy growth. During flowering, red light (620–700 nm) dominates, driving flower formation and resin production. Most modern full-spectrum LEDs automatically cover both ranges; those wanting to optimize their setup can use dimmers or separate channels to adjust the spectrum according to the growth phase.
The light cycle is critical for photoperiodic strains: in the vegetative phase, you provide light for 18 hours and darkness for 6 hours. To initiate flowering, you switch to 12 hours light and 12 hours darkness. Those who prefer autoflowering strains, which flower independently of the light cycle, can maintain a 20/4 or even 18/6 rhythm. More details in the article Growing Autoflowers: Why Self-Flowering Strains Are Ideal for Beginners.
Choosing Substrate: Soil, Coco, or Hydroponics Compared
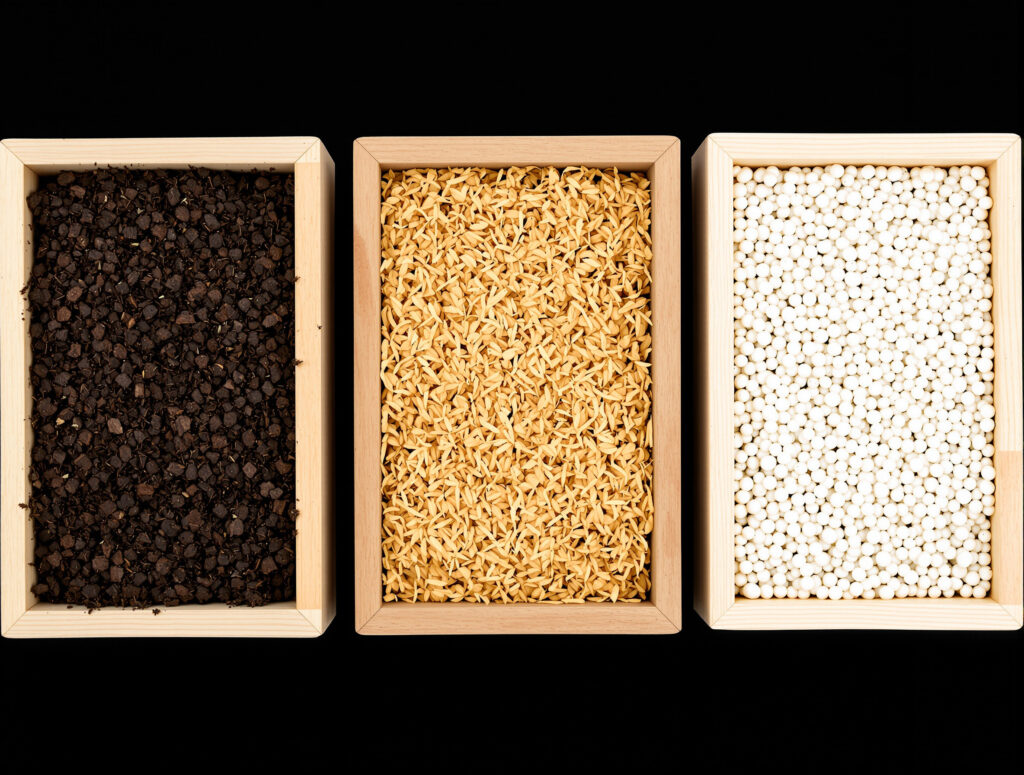
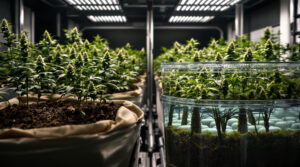
Choosing your substrate is one of the most fundamental decisions in indoor growing, as it largely determines how your plants grow, how you water and fertilize, and how much control you have over the process. Three systems dominate hobby cultivation: soil, coco, and hydroponics.
Soil is the system of choice for all beginners. It’s inexpensive, widely available, buffers nutrients, and forgives small dosing errors. Good cannabis-specific potting soil already contains a basic nutrient supply for the first three to four weeks, so you hardly need to fertilize or don’t need to at all during this period. The downside: soil grows slower than other systems, and pH must be checked regularly. For organic growing, soil is the obvious choice – you’ll find more about the right soil mixes and organic fertilizers in our article on Cannabis Soil & Fertilizers in Organic Growing.
Coco (coconut fiber or coco coir) is an inert medium made from coconut husk fibers. It stores no nutrients itself but has excellent water and oxygen-holding capacity. The result: roots that are simultaneously well-aerated and well-supplied, enabling faster growth and higher yields compared to soil. The catch: since coco is inert, you must add nutrients every time you water. Specialized coco fertilizers are essential here, as coconut fiber binds calcium and regular soil fertilizer quickly leads to deficiencies.
Hydroponics is the fastest and most productive system, but also the most complex. Roots sit directly in a nutrient solution (DWC, Deep Water Culture) or are misted at regular intervals (NFT, Ebb & Flow). The advantage: maximum control over every nutrient parameter, fastest growth, highest yields. The disadvantage: mistakes – such as an EC value that’s too high or a failed air stone in a DWC bucket – can kill a plant within hours. For beginners, hydroponics is only recommended if you’re willing to study intensively.
The Growth Stages of Your Cannabis Plant from Germination to Harvest
An indoor grow passes through several clearly distinguishable phases, each with its own requirements for light, nutrients, and climate. Understanding what your plant needs in each phase establishes the foundation for maximum health and yield.
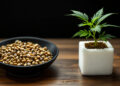
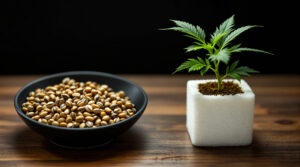
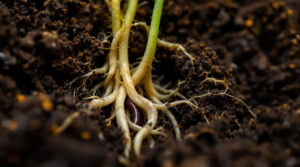
Germination takes between two and seven days. Cannabis germinates most reliably between moist paper towels or in special germination cubes at temperatures of 22 to 25 degrees Celsius. Light isn’t critical at this stage – consistent moisture is more important. Once the radicle (root) reaches a length of one to two centimeters, the seed goes pointy-end-down into the prepared pot, or germination cubes are placed directly into the substrate.
The seedling stage begins with the appearance of the first leaves (cotyledons) from the soil. In the first two weeks, the plant is still extremely sensitive to overfeeding. Light should be dimmed and kept at greater distance; humidity can be around 65 to 70 percent since the plant still has little root mass and takes in most water through its leaves.
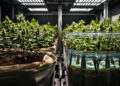
In the vegetative phase, the plant grows, forming stems, branches, and increasingly more leaves. It now needs more light, more nitrogen (N), and a more stable climate ranging from 22 to 28 degrees Celsius during the day. This phase lasts between two and eight weeks depending on strain and training methods. Those using training techniques like Low Stress Training (LST) or bending and tying branches create a more even canopy during this phase and maximize yield later.
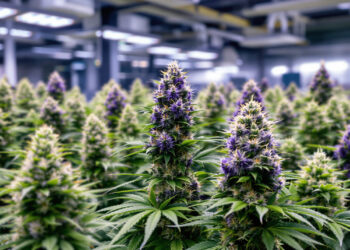
Switching to 12/12 light (for photoperiodic strains) begins the flowering phase. In the first two weeks, the plant still shows strong vegetative stretch – the so-called „flower stretch“ can double plant height. Afterwards, vegetative growth slows, and the plant concentrates all energy on forming flowers and resins. Now you reduce the nitrogen content in fertilization and increase phosphorus (P) and potassium (K). Humidity should be reduced toward flowering to 40 to 50 percent to prevent mold and botrytis.
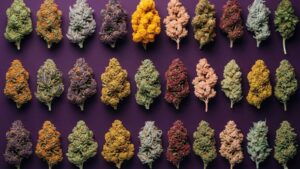
The harvest time is for many the most emotional moment in an indoor grow. The most precise indicator is the trichomes, the small resin glands on the flowers: under a magnifying glass or handheld microscope, you can see whether they’re still clear and transparent (too early), milky-white (optimal THC peak), or amber-colored (stronger body effect, more CBN). After harvest, drying and curing largely determine the quality of your final product.
Climate and Environment: Temperature, Humidity, and VPD in Indoor Grow
Controlling the climate in your grow tent is one of the most demanding tasks in indoor growing – and one of the most important. Even perfectly set up systems with high-quality lamps fail if temperature and humidity aren’t right.
The optimal temperature during the growth phase is 22 to 28 degrees Celsius, measured at leaf height. In the flowering phase, slightly cooler temperatures between 20 and 26 degrees Celsius are recommended. Especially important: nighttime temperature shouldn’t drop more than 10 degrees below daytime temperature. Large temperature fluctuations stress the plant and can lead to anthocyanin production – plants turn purple, which is aesthetically nice but indicates suboptimal conditions.
Humidity (relative humidity, rH) should be regulated according to growth phase: seedlings and young plants prefer 65 to 70 percent rH. In the growth phase, 50 to 65 percent is ideal. Toward flowering, gradually lower humidity to 40 to 50 percent; in the final two weeks before harvest, even 35 to 45 percent. The technical term VPD (Vapor Pressure Deficit) describes the interplay between temperature and humidity more precisely than rH alone; those wanting to optimize their grow should consult VPD charts and adjust climate accordingly.
CO₂ is another parameter that more experienced growers can control: under normal room air, CO₂ concentration sits around 400 ppm. In a closed grow tent, it can quickly drop due to plant respiration and poor ventilation, slowing growth and flowering. Many growers use simple CO₂ sources like fermentation bags or CO₂ bags, which release carbon dioxide through the breakdown of organic material. Those seriously enriching CO₂ achieve values of 1,000 to 1,500 ppm and can increase yield by up to 20 percent depending on setup.
One frequently overlooked point is odor control. Cannabis flowers with intense aroma, and even in a well-ventilated apartment, stubborn odors can develop without an activated carbon filter. Ensure the exhaust fan is adequately sized relative to tent volume, and check the activated carbon filter regularly – it loses efficiency after six to twelve months and should be replaced.
The Most Common Indoor Growing Mistakes and How to Avoid Them From the Start
Every experienced grower has a list of mistakes made during their first or second grow. The good news: most are avoidable if you know about them before you start.
Overwatering is by far the most common beginner mistake. Water is as important to cannabis roots as oxygen – and with constantly wet substrate, roots get no oxygen. You recognize the right watering amount by the pot feeling noticeably heavier after watering, and you should only water again when it feels light and dry. Professionals call this the „lift test“: does the pot feel light? Then it’s time to water.
Nutrient overdosing is the second classic mistake. More fertilizer doesn’t automatically mean more growth. Cannabis fertilizer is highly concentrated, and most manufacturers recommend starting with one-quarter to one-half of the recommended dosage. Symptoms of overfertilization (nutrient burn) are brown or yellow burned leaf tips. Once you’ve experienced nutrient burn, you think twice next time.
Wrong pH when watering is a mistake that creeps up slowly and only becomes visible after weeks. Overly acidic or overly alkaline watering medium locks certain nutrients away from the plant even though they’re present in the substrate – this is called nutrient lockout. Always measure watering water pH and correct if necessary before watering.
Applying training methods too early or too aggressively can permanently stress plants. Low Stress Training (LST) – gently tying and bending branches – is the most beginner-friendly method and can begin early in the veg phase. More aggressive techniques like topping (removing the main stem) should only be applied to healthy, vigorous plants. Those wanting to dive deeper into genetics and work with cuttings will find detailed instructions in the article on Growing Cannabis from Cuttings.
Hast du schon einmal Cannabis indoor angebaut?
FAQ: Indoor Cannabis Growing
How many plants can I legally grow indoors in Germany?
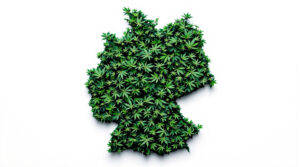
According to the Cannabis Control Act (CanG), any adult aged 18 and over can cultivate up to three female cannabis plants in a private space. The plants must be protected from access by children and adolescents, and visible privacy protection is required – for example, on a balcony. Growing in a closed grow tent typically meets these requirements without issue.
What does a beginner indoor grow setup cost?
A solid beginner setup for an 80 × 80 cm grow tent including LED lamp, exhaust system, activated carbon filter, pots, and basic equipment costs between 300 and 600 euros. Additional costs for electricity, nutrients, and substrate apply. You’ll find a detailed cost breakdown in our overview of Homegrow Costs 2026.
How long does an indoor grow take from germination to harvest?
This strongly depends on the strain. Photoperiodic strains typically require 8 to 12 weeks of flowering, plus 4 to 6 weeks vegetative phase and 10 to 14 days of germination and seedling stage. Most indoor grows total 14 to 20 weeks. Autoflowering strains are significantly faster: many complete the cycle from germination to harvest in 10 to 12 weeks.
Which substrate do I recommend for my first indoor grow?
For your first indoor grow, good cannabis-specific potting soil is the best choice. It’s inexpensive, readily available, buffers nutrient mistakes, and allows beginners to focus on the essential processes without simultaneously grappling with the complexity of coco or hydroponics. Once you’ve successfully completed one grow, you can experiment.
How do I know when my plant is ready to harvest?
The most reliable harvest timing indicator is trichomes. With a simple magnifying glass (60x magnification is sufficient), look at the flowers: clear, transparent trichomes mean „too early.“ Milky-white trichomes show the THC peak. Once the first trichomes turn amber, THC content decreases while CBN (providing relaxing, body-heavy effects) increases. Most growers harvest at a ratio of 70 to 90 percent milky and 10 to 30 percent amber.
What should I watch for when drying and curing after my indoor grow?
Drying and curing is at least as important as the grow itself and determines flavor, effects, and shelf-life. After harvest, branches or trimmed flowers dry 7 to 14 days at 18 to 22 degrees Celsius and 50 to 60 percent humidity in a dark, well-ventilated space. Afterward, buds go into wide-mouth jars for curing – at least two to four weeks, with brief daily airing. All details can be found in our guide to Cannabis Harvesting, Drying, and Curing.


Branchen-Update
News, Analysen und Reportagen — mehrmals im Monat direkt in dein Postfach.
Folge uns